

If you’ve stumbled upon Koji recently, you’ve probably seen all the amazing templates on the front page. If you’re thinking of creating a template on Koji, this article should help you create the best template possible.
In this article, I’ll try to guide you through the process of creating a template so good that it gets featured it in the Template Store. 🙂
Disclaimer: What I will be describing are my own ways of doing things that may not be the absolute best ways to do it, but I’m positive it will help you at least in some way. Make sure you take a look at the Koji Docs for more official documentation.
This will not be a start-to-finish step by step template creation tutorial, but rather a set of solutions and tips needed to get a Koji template approved and ready for others to use.
For this article, I will be using examples of Javascript with its P5.js framework that I’ve used in my previous templates and a small amount of HTML and CSS.
Most principles will apply to any development tools you decide to use.
Creating a project
The first step is creating a project that your template will be based on.
If you’re not sure how to create a new project, Koji team has made a great video detailing how to get started:
https://www.youtube.com/watch?v=A_ggdHXYHgA
Let’s get started with our checklist!
The code within the project should be readable for other developers and built to be extensible.
All project files are well documented/commented
Since we’re not just building apps for users, but also for other developers who will later reuse your app or even upgrade it. To allow that, the code should be decently clean and organized, with sensible variable and function names, and proper comments which make it easier for the developer to make sense of what’s happening.
To illustrate an example of why this is important, let’s take one of my templates for example:
Here’s a piece of my Fruit Slicer code without any comments:
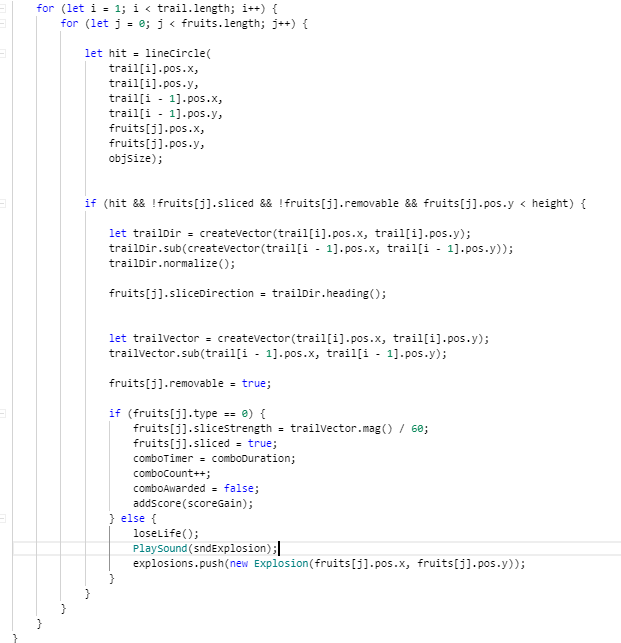
See if you can figure out what it does.
You probably can, but you might have to read it a few times and perform some mental gymnastics in order to fully understand it.
And here’s the same piece of code with comments:
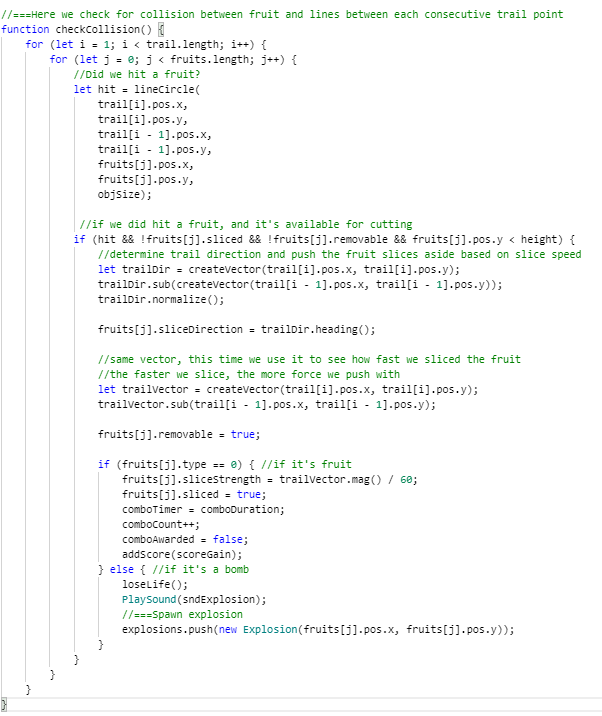
However long it took you to understand it without comments, it would take you considerably less time to do it this way.
Of course, it’s not all about comments. In some cases just naming your functions and variables properly will make your code a lot more readable.
The other part, “built to be extensible”, means that you should write your code so that others can easily modify it or upgrade it.
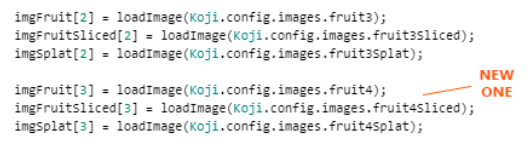
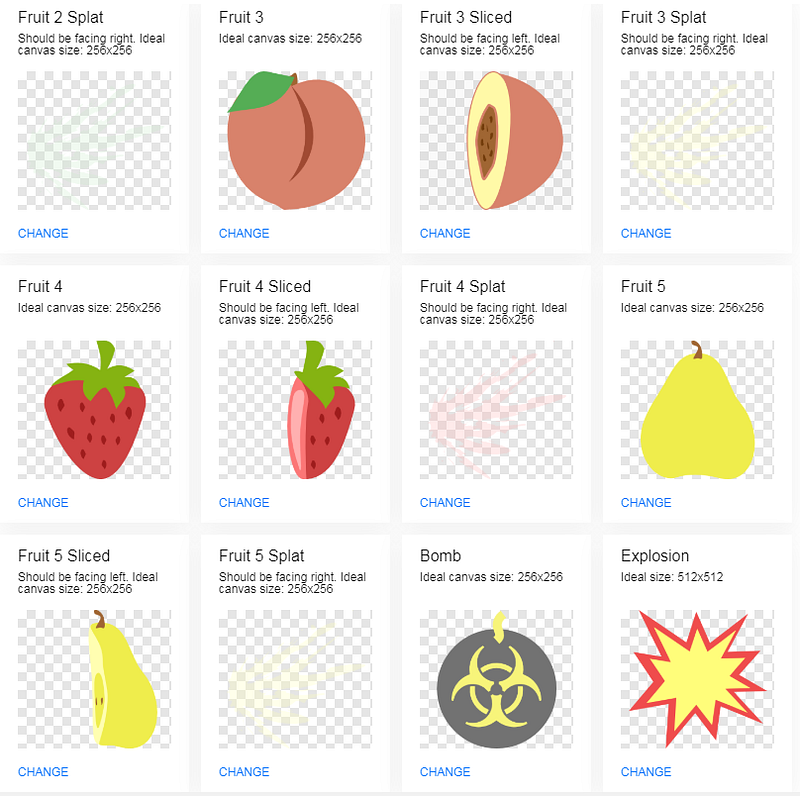
For example, in Fruit Slicer, I have several different fruit types by default, but you can easily add however many additional types you want. Each fruit type has its own Base Image, Sliced Image and Splat image.
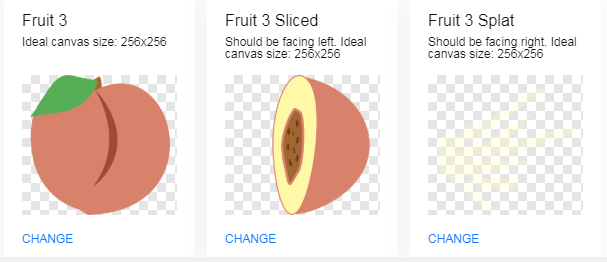
So if you want to add another, you would copy those 3 entries in theimages.json customization file, change their ID numbers like so:
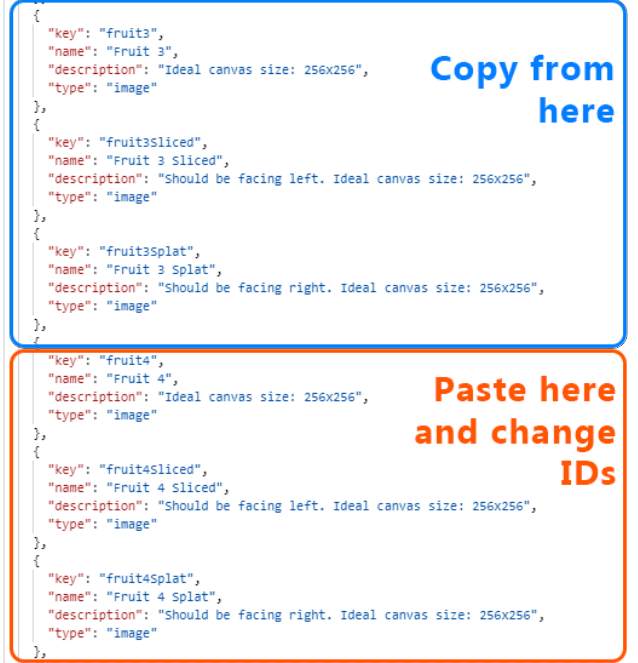
Add the graphics:
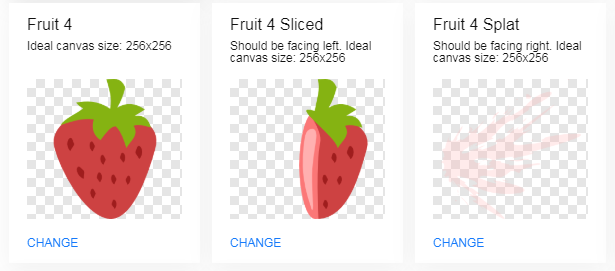
Now just assign your new fruit to the next slot in the array I built:
And you have one additional fruit available in the game in less than 10 minutes!
Technically, you can add however many different types you want.
This is just one example, this feature will vary in each game, but you get the idea. If you had an RPG game, you could make it easy to add new weapons, enemies, etc.
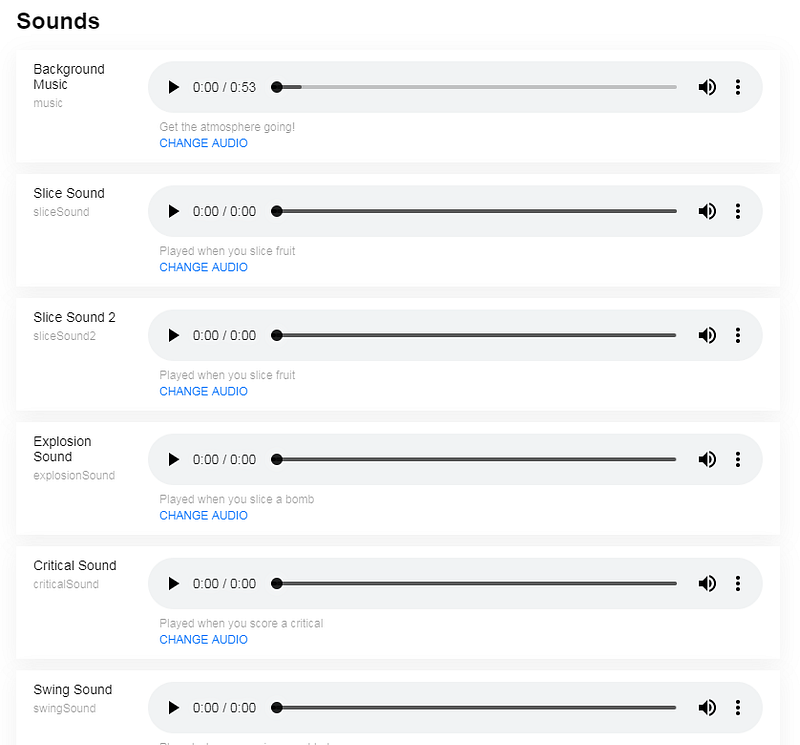
If your app has sound, it provides a mute/play toggle button
For this one, you will need to define images for the mute/sound button.
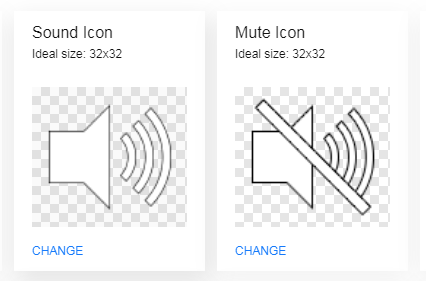
One way to do this would be to create an object that serves as that button, changes images depending on the current state, for example, a boolean like soundEnabled, and clicking it toggles that boolean.
Application has a Home Screen/Modal with user instructions
This is a menu that shows up when the user opens your app.

This is a good place to put the title of your game, instructions, a play button, a high score label (if appropriate) or even some more buttons like Options, Credits etc.
A simple way to manage the display of this main menu would be to have a boolean like showMenu, which would be set to true initially, disabled when the player presses “Play”, and enabled again when the player loses a game.
VCCs (Visual Customization Controls)
Make sure that you provide relevant information about the customization (preferred image size, character length, file format, etc.), can be changed without interfering with core functionality
When you define your Visual Customization Controls, you want other developers to know how to get the best results when they change the app. A good way to this is to include relevant tips in the description of each item.
For images, you can describe what size they should be ideally (Usually the smallest size you can get away with without losing quality on bigger screens).
For sounds, it’s mostly true that you should be using the smallest file sizes you can, without compromising quality.
MP3 and WAV file types are supported on Koji for now (with OGG coming soon most likely). I usually use MP3 for music and WAV for short sound effects. As descriptions go, it’s best to describe when each of the sounds are used.
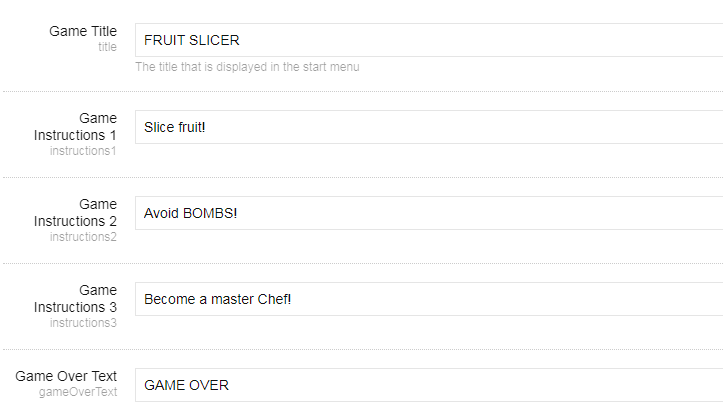
For Strings, it’s best to make every text line in the game modifiable.
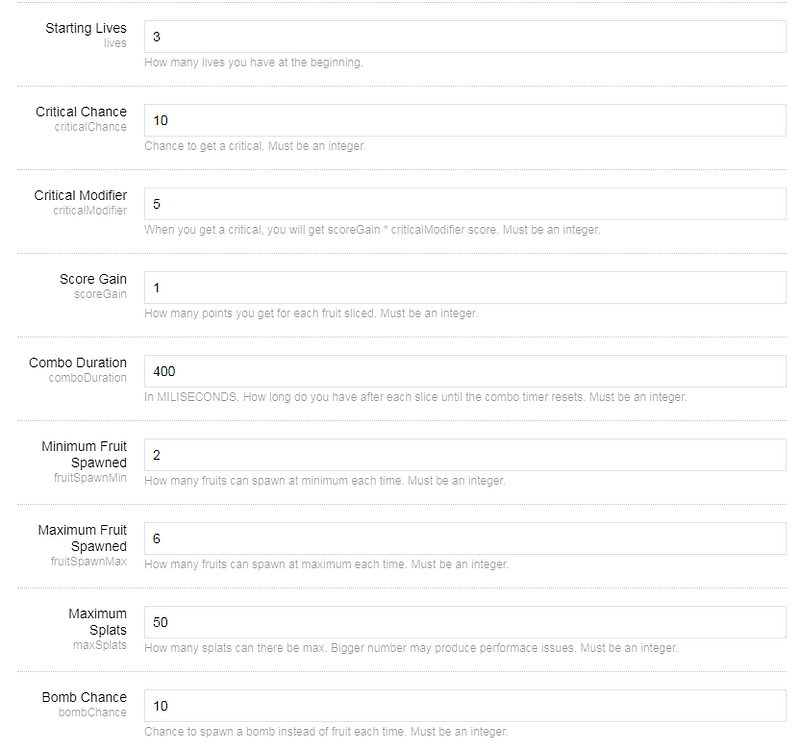
Some game settings should also be modifiable, but make sure to include relevant tips (if it must be an integer, what range does it have to be in, etc) and description of what the setting will change.
A deployed application is cross-browser compatible
This will work in most cases as long as you use proper Javascript, no need to worry about it too much, but it’s best if you can test it yourself with multiple browsers. It’s usually Safari & Edge that pose problems.
A deployed application loads fast under 3G throttling
As a general rule, you should make sure that all files you load with your app are as small as possible.
Some tips:
- Resize your images. Most of my images in templates are under 256×256 px, with only some exceeding that (furthermore, using big images that scale down will make them look weird on the edges).
- Use MP3 for music, as it’s significantly smaller in size compared to WAV without any noticeable quality loss.
A deployed application works on both iOS & Android devices
This should work most of the time as well, but if you can, make sure you test your app on both of them. There are some minor quirks on iOS that you may run into, but this has been documented here.
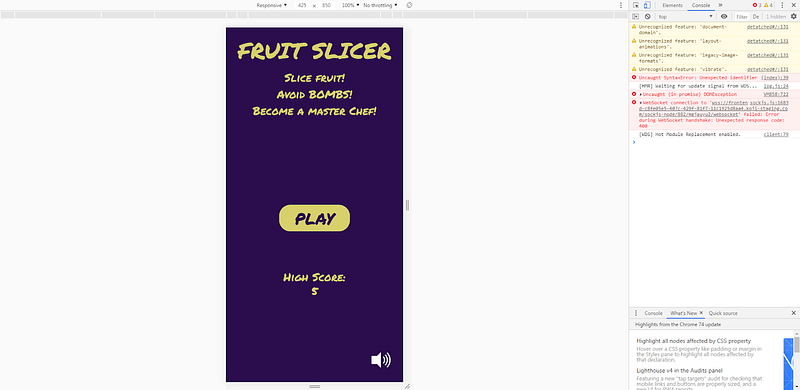
A deployed application is responsive across Koji Preview, Mobile, Tablet, Desktop
This is an important point and can sometimes be a tricky one to accomplish.
Your app needs to scale properly on all screen sizes (no overlapping GUI elements, no clipping etc), which can differ quite a bit.
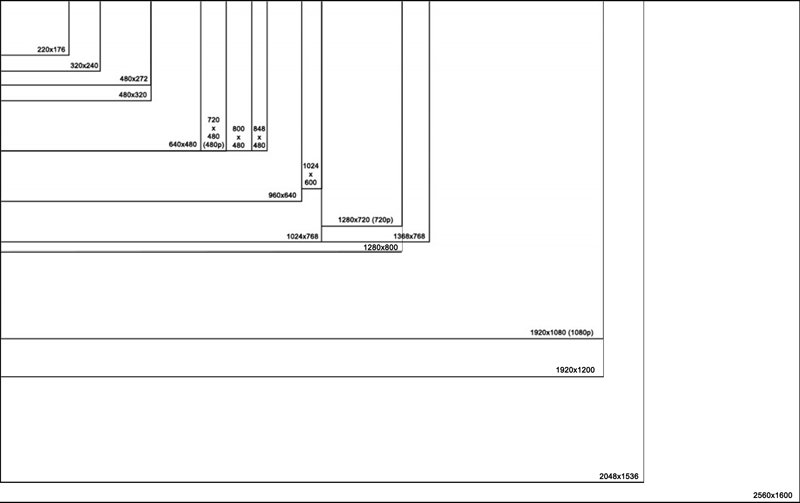
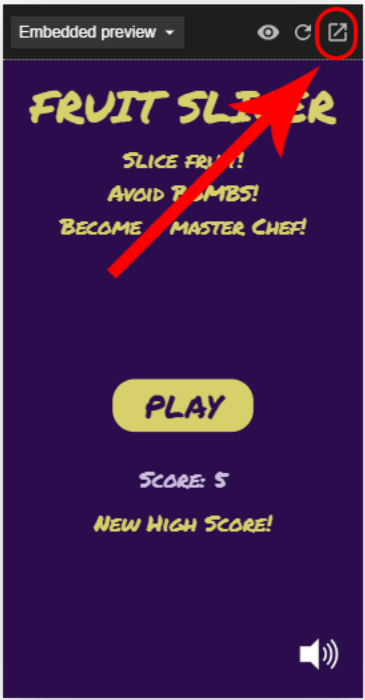
A simple way to test if your app is responsive across all sizes would be to open your detached preview:
Then you open the developer/console tab in your browser (usually by hitting F12, but you can find it for your browser here). Once you open it, look for an icon like this:
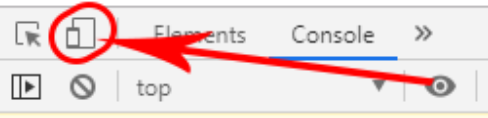
Click it, and it will display a menu where you can select any size you want to check.
A deployed application passes the Lighthouse Audit
You can find all the necessary information on Lighthouse Audit here.
I personally haven’t had any problems with it so far, and as long as you stick to decent coding practices (not using unnecessary loops, clearing arrays after they are not needed etc) and optimizations which I talked about in the 3G throttling section, you should be fine.
If you still have problems, you can always ask for support on the Koji Discord Server.
Overview README.md within the project provides clear and useful information about the template.
Your README.md file is what provides the most important information about the template itself.
Things you should include in it:
- Basic app information/overview
- Instructions on how to use it (or play)
- Information about customization options (everything that can be customized, what to look out for etc)
- Instructions on how to add more customizations if appropriate
- Additional notes about the app that the user/developer should look out for
- Optionally, some form of a contact info
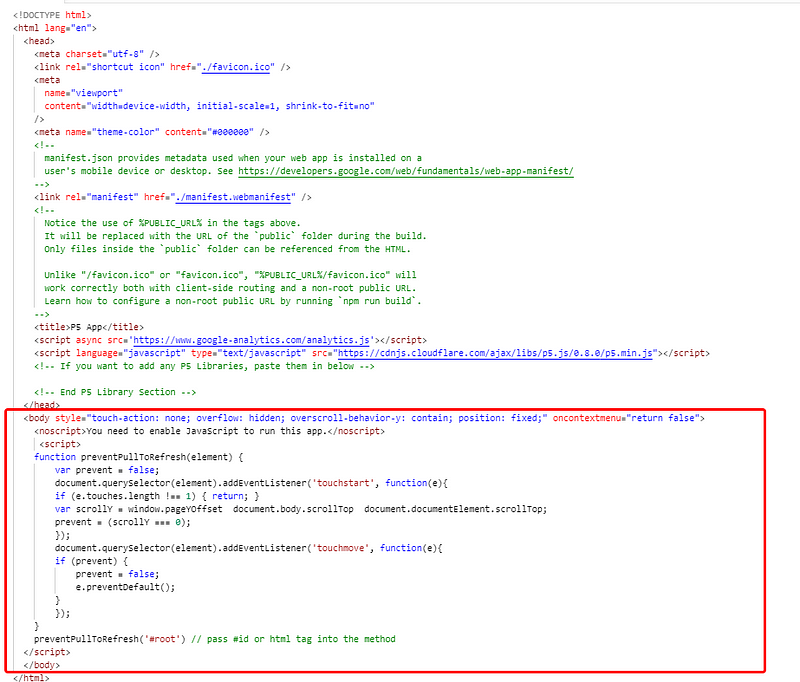
Making the game canvas non-scrollable and disabling zoom on mobile
If you’re creating a game, most likely you will want to disable scroll and zoom that could disrupt gameplay on mobile browsers.
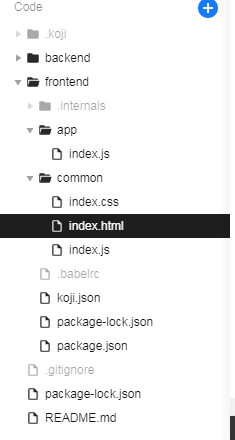
A simple way to do this is to find the index.html file in your project editor
And replace the whole <body> section with the following contents in the link: https://pastebin.com/J6X2imiu
So that it should look like this:
Polishing the game
This is what distinguishes great games from the okay ones. Adding some simple but elegant effects to various parts of your game can really make it stand out and improve the feel when playing.
Here are some videos that illustrate that in a really good way:
https://www.youtube.com/watch?v=216_5nu4aVQ
https://www.youtube.com/watch?v=Fy0aCDmgnxg
One Reply to “The Complete Guide To Creating An Amazing Template On Koji”
Comments are closed.